Easy Wildflower Seed Bomb Tutorial
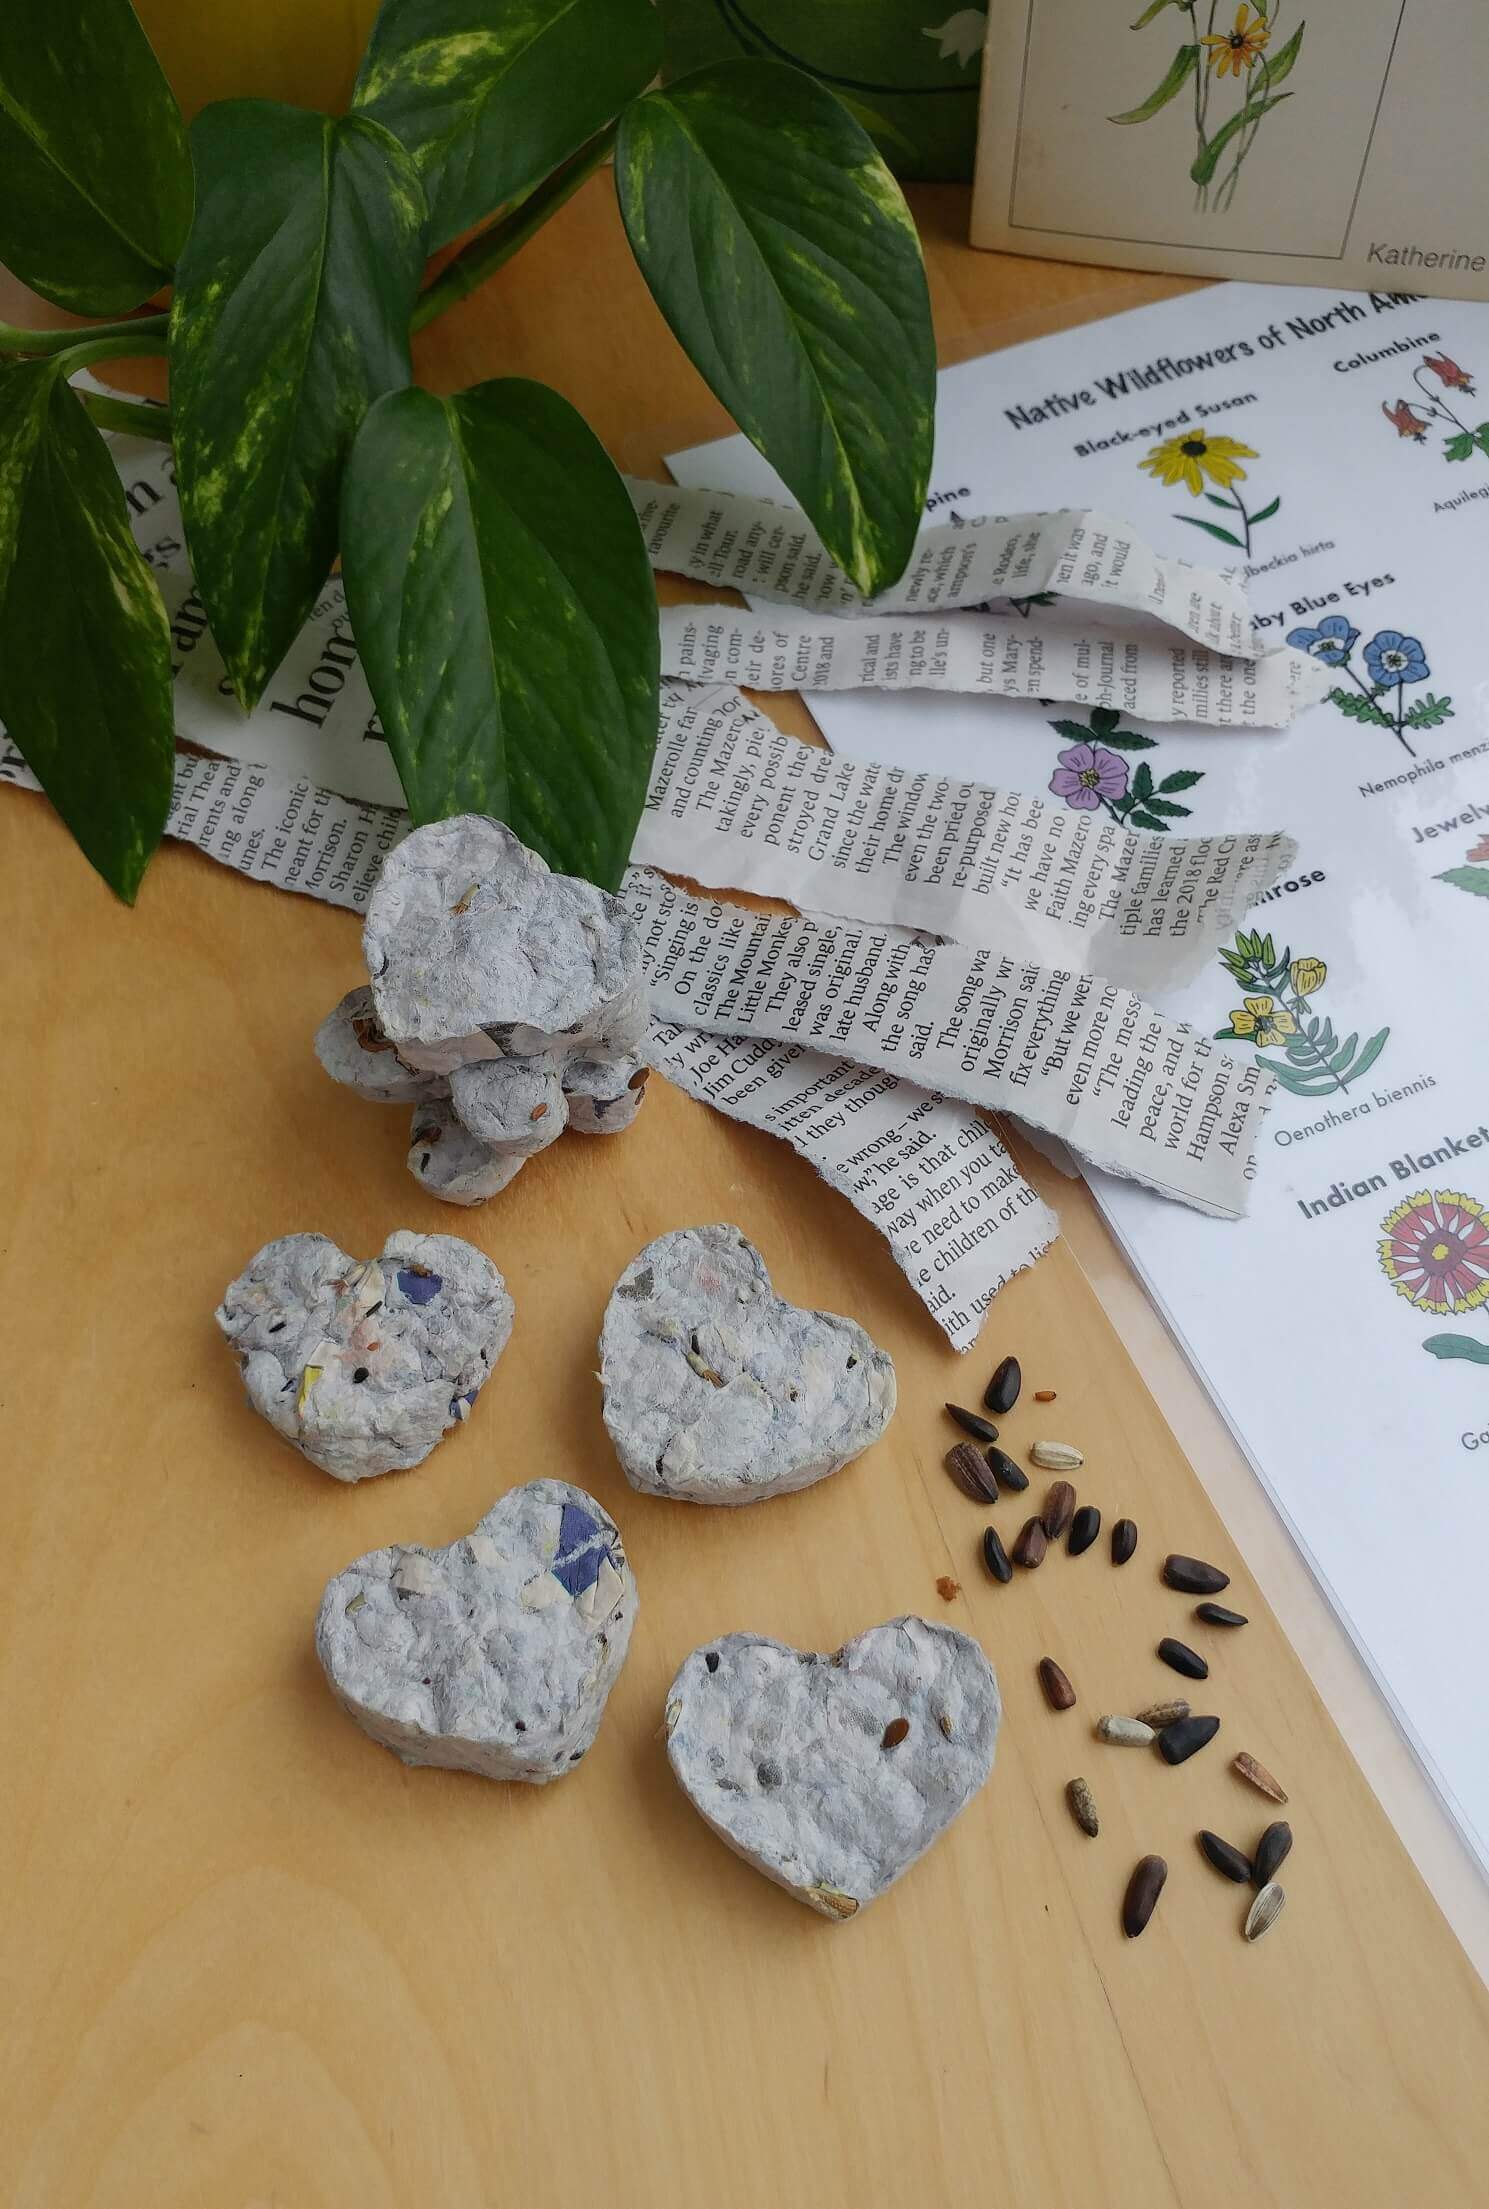
We have been making “Seed Bombs” every spring for the last few years and thought we would share our easy and blender-free tutorial with you. “Seed Bombs” are usually made with recycled paper or clay and a mix of local flower seeds. The idea is that they can easily be tossed in a natural area in your yard and once they are hit with rainwater and sun, they will germinate! They also can be purposely planted in shallow soil and cared for as you would any other planted seed. The latter will ensure greater success of the plants, the other is incredibly more fun! Picture us skipping along throwing seed bombs into the air…definitely more fun! Most “Seed Bomb” tutorials will ask you to use your beloved blender to shred the paper, but in doing so, you run the risk of overheating your blender’s engine. Our method requires a little more patience but it’s well worth the extra effort! SUPPLIES Newspaper or Paper Large Jar or Bowl Serrated Knife Boiling Water Wildflower Seed Mix (choose local) Small Cookie Cutters or Silicone Molds (optional) Tear 10 to 20 pages of newspaper or paper into small 1/2 inch pieces. Place them in a large, heatproof jar or bowl. Boil water and add it to the vessel covering the paper by several inches. Allow the paper to soak for a few hours, stirring occasionally. To encourage the paper to turn into pulp, stir and slice with a serrated knife. If the paper is still not falling apart, add another soak in hot water for a few more hours. Once the paper has lost shape and resembles pulp, strain through a sieve over the sink. We used our hands to squeeze out as much moisture as possible. Next, we added the pulp to a bowl and mixed in a full package of wildflower seeds. Alternatively, you can add just a few seeds into each one as you shape them. We used small cookie cutters that we had on hand and they worked wonderfully. We simply filled the cutters with pulp and squeezed out as much moisture as we could, as we did so. You can also use silicone molds or simply roll the pulp into a ball or mound. We popped the shapes out onto a cookie sheet covered in parchment and placed them in a sunny spot to dry. They were dry by the end of the next day and ready to go! (If you are using molds, allow them to dry for a few days) We’ve handed them out to friends and neighbors and they have always been well received. They can be planted in a favorite pot, in the garden bed or simply thrown into wild areas of your yard. Let us know if you give them a try! Sue “We are a participant in the Services LLC Associates Program, an affiliate advertising program designed to provide a means for us to earn fees by linking to .com and affiliated sites.”

How To Make Seed Bombs: 3 Different Methods - Epic Gardening
Best Fall PIcture Books

We are sharing an easy Cardboard Cactus Craft
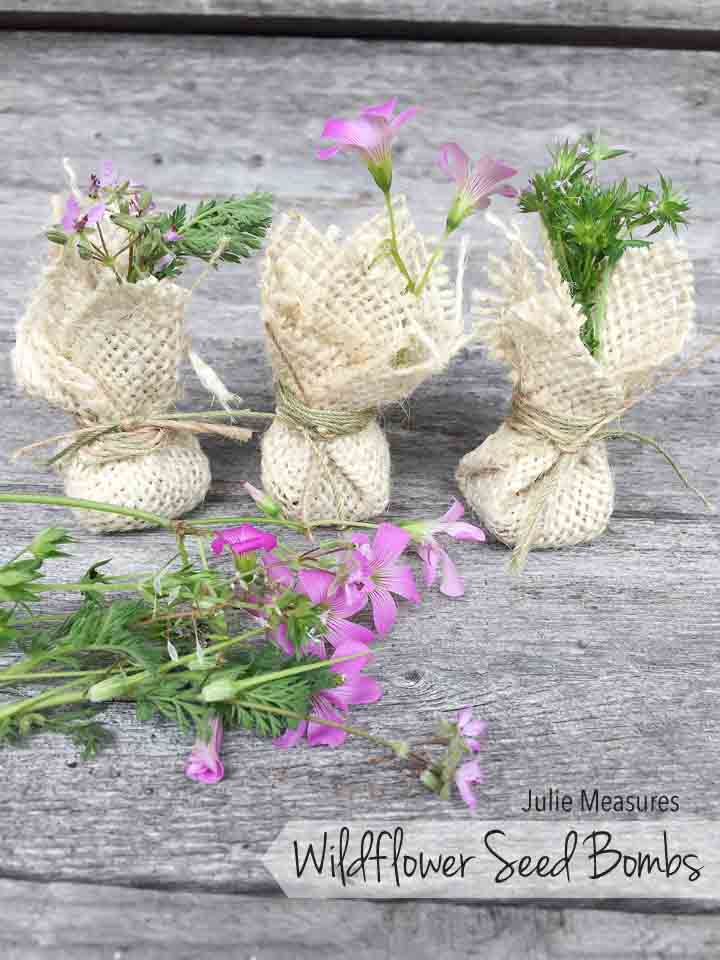
Easy DIY Wildflower Seed Bombs - Julie Measures
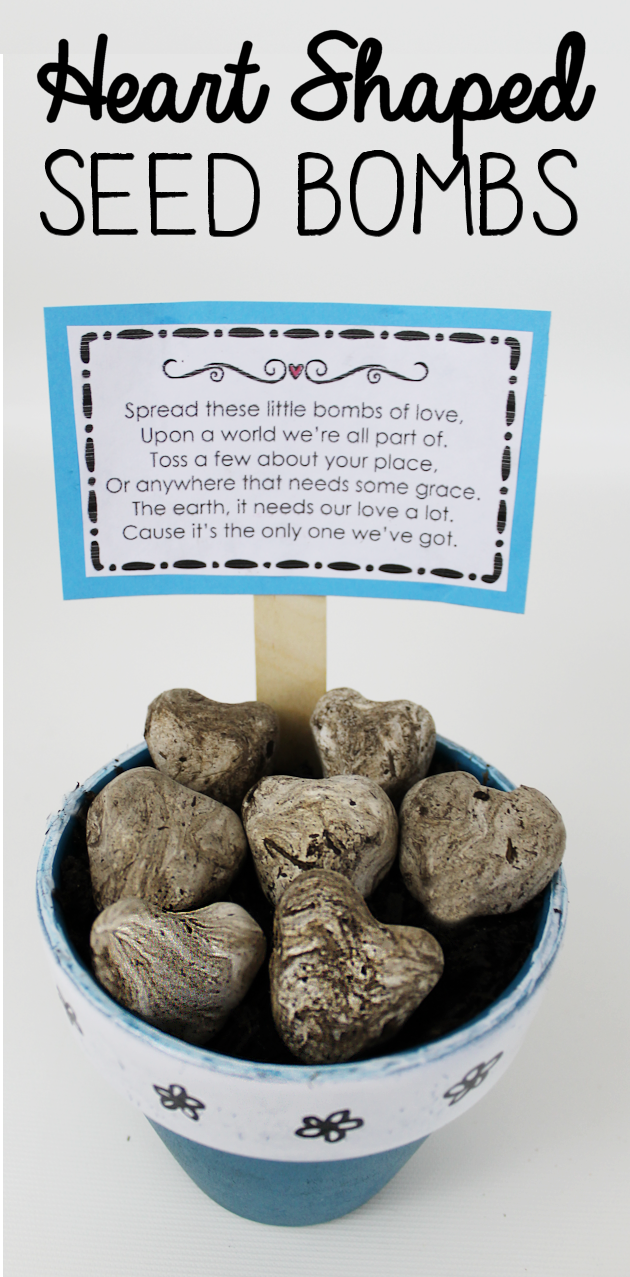
DIY Heart Shaped Wildflower Seed Bombs : Spread Love on Earth Day

Making Composting Understandable For Kids - Teach Go Green

Pinterest - ピンタレスト

DIY: Wildflower Seed Bombs – Brighter Day Press
Bomb your yard, garden or field with these lush and lovely wildflowers, native to the Pacific Northwest! With 8 native wildflowers, these seed bombs

Native Pacific Northwest Seed Bombs

DIY Seed Bombs - Easy Spring Craft Project